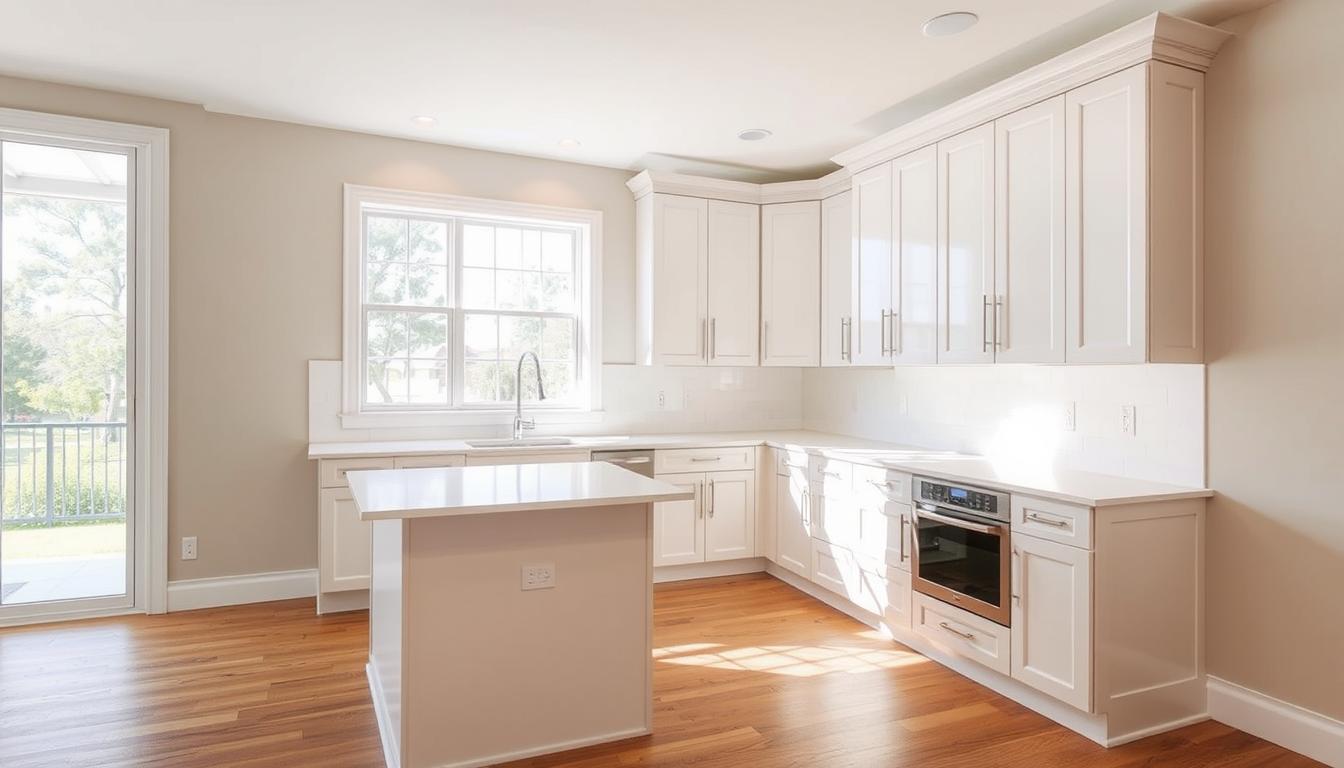
Did you know that what many consider a weekend DIY project can actually take a skilled person 8 to 10 hours to complete in an average-size kitchen? That’s a full day of meticulous work, and it doesn’t even account for unexpected challenges. For Houston homeowners, investing in a kitchen upgrade is a big decision, and the installation process is a critical part of the journey.
We are your local Houston experts, dedicated to transforming your space with precision and care. Our team brings years of experience to every project, ensuring your new storage solutions are not only beautiful but also perfectly functional and built to last. We understand the unique factors of Texas homes, from humidity considerations to local building styles.
Choosing professional help means you save valuable time and gain peace of mind. We handle everything from precise measurements to expert problem-solving, guaranteeing a flawless finish. Our customer-first approach means we work within your budget and timeline to deliver results that truly exceed expectations.
Key Takeaways
- A standard DIY cabinet project can take 8-10 hours for an average kitchen.
- Professional installation ensures precise measurements and expert craftsmanship.
- Our Houston-based team understands local climate and building considerations.
- Hiring professionals saves you significant time and prevents costly errors.
- We focus on delivering high-quality results that stay within your budget and timeline.
- Every installation is handled with a customer-first approach for complete satisfaction.
Introduction to Our Kitchen Cabinet Installation Guide
Transforming your cooking space demands more than just selecting beautiful storage solutions. We created this comprehensive guide to walk you through the entire process. Our goal is to help you understand what it takes to achieve professional results.
This kitchen cabinet installation project requires careful planning and realistic time expectations. Your first ready-to-assemble unit may take 35-40 minutes to put together. Each subsequent one typically requires 15-20 minutes.
| Cabinet Type | First Unit Assembly | Subsequent Units |
|---|---|---|
| Ready-to-Assemble | 35-40 minutes | 15-20 minutes |
| Pre-Assembled | 10-15 minutes | 5-10 minutes |
| Custom Built | Professional installation recommended | Professional installation recommended |
We recommend blocking off at least a full day for a DIY approach. Having a helper makes the job safer and more efficient. This is especially true when positioning upper cabinets.
Consider painting your walls before installing new cabinets. This prevents paint splatters on your beautiful new units. It saves time and protects your investment.
Our guide covers measurement basics, space preparation, and installation techniques. Taking time to review each step ensures success. You’ll avoid costly mistakes and time-consuming corrections.
Whether you tackle this project yourself or hire our team, we want you to feel confident. Proper preparation leads to outstanding results that last for years.
Understanding Measurement and Leveling Basics
Before any tools come out, the most critical phase begins with precise measurements and thorough leveling. We cannot stress enough how important this foundation is for your entire project.
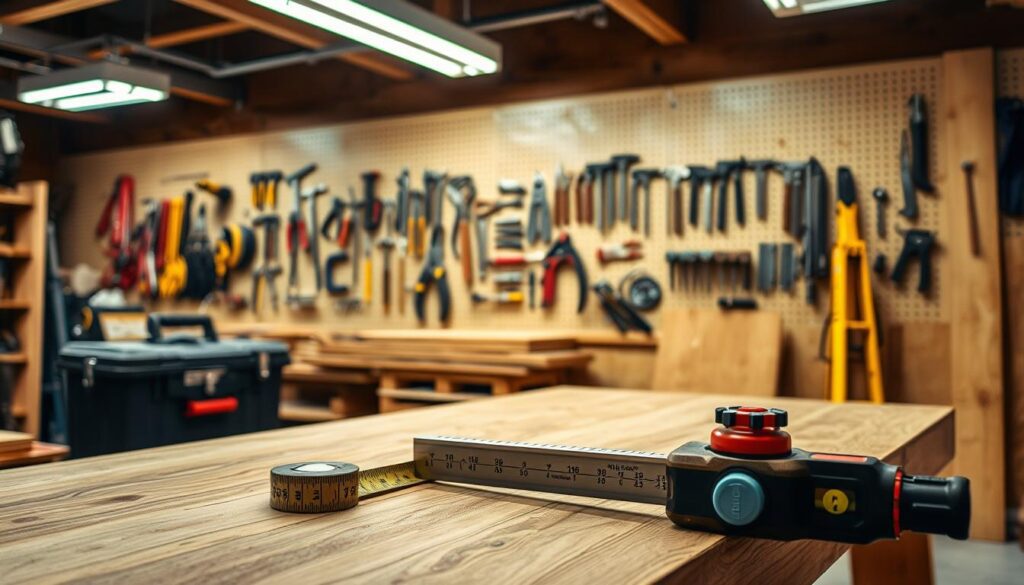
Most surfaces in your home aren’t perfectly flat, even when they appear straight to the eye. Taking the time to identify irregularities now prevents frustrating adjustments later.
Identifying High Points on Your Floor
Finding the highest point on your floor is your first essential step. Use a long, straight board and a quality level to check for uneven areas.
Place the board against the wall where your units will sit. Adjust until the level reads perfectly flat, then mark this high spot. Repeat this process about two feet out from the wall to find the true reference point.
Ensuring Walls Are Plumb and Level
Next, check your walls both vertically and horizontally. This helps you identify any bumps or dips that could affect alignment.
Run your level up and down the wall surface to check for plumb. Mark any problem areas that will need shimming. A straight reference line ensures everything hangs perfectly.
We always make sure to double-check these measurements. Careful preparation at this stage guarantees professional results that last for years.
Preparing Your Space for Cabinet Installation
Before the first unit arrives, your kitchen needs thorough assessment and preparation to guarantee success. We guide you through each essential step to create the perfect foundation.
Proper preparation prevents frustrating adjustments later. It ensures everything fits perfectly from day one.
Assessing Walls, Studs, and Floors
Start by checking your walls with a 4-foot level and framing square. Look for any dips or angles that need correction.
Finding wall studs is crucial for secure mounting. Use a stud finder and mark their positions clearly.
Your floor must be solid and level before any work begins. Check for uneven areas that could affect your base units.
Complete all electrical work before placing any storage solutions. Install outlets every 4 feet above countertops.
Rough in plumbing lines for sinks and appliances. Make sure drain pipes can be adjusted during final placement.
Mark appliance locations on your floor and walls. This ensures proper clearances for your refrigerator and stove.
Thorough preparation creates a stable foundation. Your new kitchen will function beautifully for years to come.
Essential Tools and Materials for DIY Projects
Gathering the right tools before starting your DIY cabinet project makes all the difference between frustration and success. We want you to feel prepared and confident when tackling this rewarding home improvement task.
Having everything organized saves time and prevents unnecessary trips to the hardware store. Our comprehensive guide ensures you won’t miss any crucial items.
Must-Have Tools and Equipment
A quality cordless drill is your most important tool for this project. You’ll need it for creating pilot holes and driving screws securely. These small holes prevent wood from splitting and ensure precise placement.
Multiple levels are essential for accurate work. Use a 2-foot level for individual units, a 6-foot level for checking alignment across multiple pieces, and an 8-foot level for finding floor high points.
| Essential Tool | Primary Purpose | Key Feature |
|---|---|---|
| Cordless Drill | Creating holes and driving screws | Variable speed control |
| Tape Measure | Accurate measurements | Locking mechanism |
| Assorted Levels | Ensuring perfect alignment | Multiple sizes for different tasks |
| C-Clamps | Holding pieces together | Adjustable pressure |
| Wood Shims | Leveling on uneven surfaces | Easy to trim to size |
Selecting Quality Materials
Choose the right screws for different applications. #10 x 2½-inch pan head screws work best for mounting to wall studs. For joining face frames, use #8 x 2½-inch trim head screws.
Quality wood shims help achieve perfect leveling on uneven floors. They also fill gaps between cabinet backs and bumpy walls. Good clamps ensure face frames stay flush during assembly.
Investing in proper materials guarantees stability and longevity. Your finished project will look professional and function beautifully for years to come.
Inspecting and Assembling Your Cabinets
The moment your new cabinets arrive marks an exciting milestone in your kitchen transformation journey. We recommend beginning inspection immediately while the delivery crew is present. This allows for quick resolution of any shipping issues.
Check each piece against your order confirmation for correct sizes, colors, and styles. Look carefully at every cabinet box, door, and drawer front for shipping damage. Dents, scratches, or cracks should be documented right away.
Checking for Damage and Completeness
Inventory all components before starting assembly. Count shelves, trim pieces, and hardware to ensure nothing is missing. This includes brackets, drawer glides, hinges, and mounting plates.
For ready-to-assemble options, your first cabinet might take 35-40 minutes. Subsequent units typically require only 15-20 minutes each. The process becomes faster as you gain experience.
| Cabinet Type | Primary Inspection Focus | Assembly Time Estimate |
|---|---|---|
| Pre-Assembled | Verify all parts are securely attached | 10-15 minutes positioning |
| Ready-to-Assemble | Check all components in boxes | 35-40 minutes first, 15-20 subsequent |
| Custom Built | Confirm precise measurements match | Professional handling recommended |
We suggest removing doors and shelves during the installation process. Label each door with masking tape indicating its corresponding cabinet. This reduces weight and prevents damage.
Pay special attention to the back panel of each unit. This area provides structural support and mounting points. Ensure it’s undamaged and securely attached before proceeding with your project.
Planning Your Cabinet Layout and Design
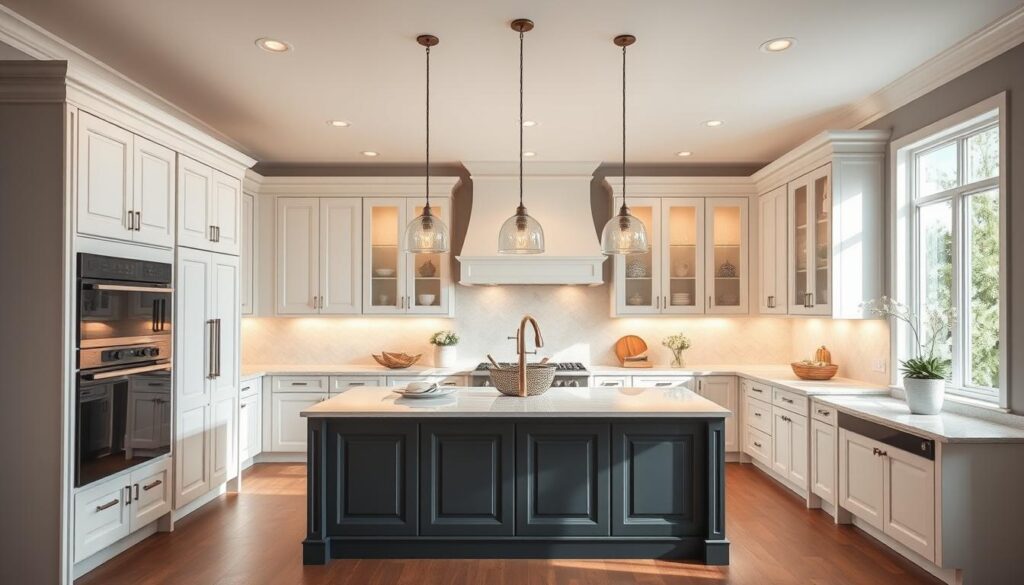
Proper layout planning transforms your kitchen vision into a precise, executable blueprint. This stage separates professional-looking results from uneven amateur work. We guide you through creating accurate reference marks that ensure everything aligns perfectly.
Dry-Fitting and Marking Your Installation Area
Start from your floor’s highest point. Measure up 34 inches to mark where your base units will sit. Extend a level horizontal line completely around the room using a chalk line.
Measure 17-18 inches up from this base line to mark your upper units’ bottom edge. This creates proper space for countertops and appliances. Your reference lines become the foundation for everything that follows.
Before permanent placement, dry-fit all base boxes starting with the corner unit. Arrange remaining pieces flush against each other according to your kitchen design. This reveals any layout issues while adjustments remain easy.
Mark each unit’s exact position on the wall with clear labels. Account for face frame overlaps that may require shimming. Double-check appliance openings during this dry-fit stage to ensure perfect clearances.
Careful verification now prevents difficult corrections later. Your meticulous planning guarantees a smooth, professional-looking finish that functions beautifully for years.
Pro Tips for Professional Cabinet Installation
The difference between good and great installations often comes down to two simple tools: shims and pilot holes. These professional techniques ensure your storage units hang perfectly level and stay securely anchored for years.
We focus on methods that separate expert work from amateur attempts. Proper shim placement and precise pilot hole drilling create solid, lasting results.
Using Shims and Pilot Holes Effectively
Wood shims compensate for uneven floors and bumpy walls. Always position them at stud locations where mounting screws will pass through. This creates stable mounting points.
Insert shims between the cabinet wall and any gaps from wall irregularities. This ensures your units sit plumb and receive full support along their entire back surface.
Drill 3/16-inch pilot holes through the back panel at each stud location. These small starter holes guide screws precisely into studs. They prevent wood from splitting when driving screws.
We recommend marking hole locations while units are on the ground. Transfer stud positions from the wall for accurate drilling. This approach beats measuring while holding heavy cabinets.
Always check that cabinets are level both side-to-side and front-to-back. Use shims for fine adjustments before tightening any screws. Taking time for proper preparation makes the difference between sagging units and decades of perfect operation.
Installing Upper and Base Cabinets
Now comes the exciting part where your kitchen transformation truly takes shape. We follow a specific sequence that makes the entire process smoother and more efficient.
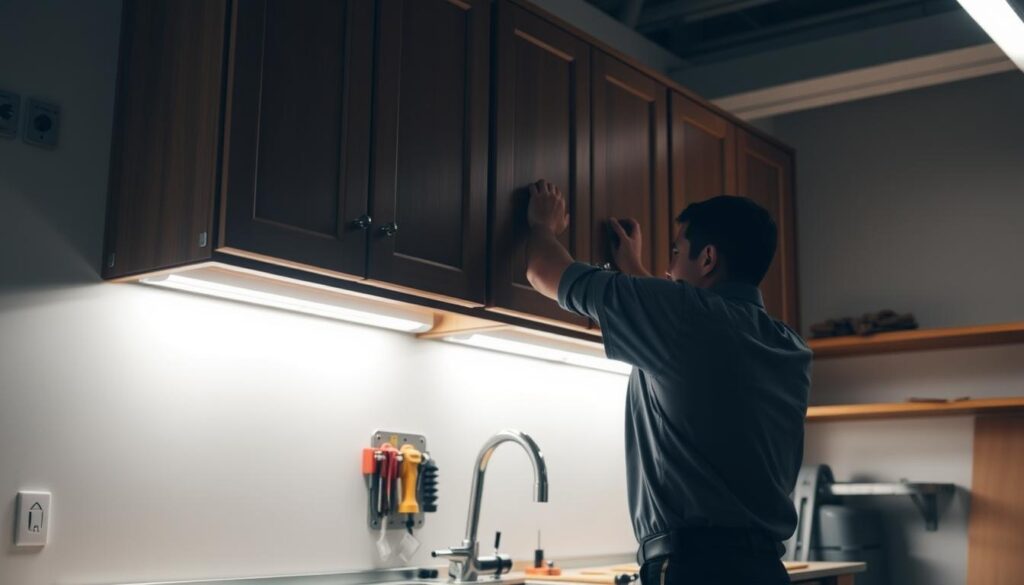
Most professionals begin with the upper wall units. This approach keeps your workspace clear since base cabinets aren’t in the way yet. Starting high ensures unobstructed access throughout the project.
Step-by-Step Installation Procedures
Always begin in a corner where two runs meet. This establishes your primary reference point for alignment. Remove doors beforehand to reduce weight and prevent damage.
Secure a temporary ledger board at your marked reference line. This creates a supportive shelf for positioning upper units. The ledger holds everything securely while you work.
Position your corner unit on the ledger first. Check with a level to ensure perfect vertical and horizontal alignment. Insert shims behind at stud locations to fill any gaps.
Work outward from the installed corner unit. Add adjacent pieces one at a time, clamping face frames flush before joining. Maintain consistent spacing as you progress.
For base cabinets, measure 34 inches up from your floor’s high point. This ensures proper countertop height throughout your kitchen. The standard spacing between upper and lower units is 17-18 inches.
Don’t fully tighten mounting screws until all pieces in a run are positioned. This allows final adjustments for perfect alignment. Constant level checks prevent small errors from becoming noticeable problems.
Securing Cabinets: Studs, Shims, and Hardware
Properly securing your storage units to the wall structure is what separates temporary fixes from permanent solutions. We focus on techniques that ensure your kitchen remains safe and functional for decades.
Always mount to wall studs using 3-inch #10 screws. These provide the strength needed to support fully-loaded units. Some manufacturers offer special washer-head screws designed specifically for this purpose.
When studs aren’t available where needed, use toggle bolts rated for appropriate weight. Pre-drill holes for drywall attachment. Always secure these units to adjacent cabinets for extra support.
Proper shimming is crucial for stability. Insert shims between the back cabinet panel and wall at each stud location. This ensures solid contact and prevents warping when tightening screws.
For joining cabinets together, clamp face frames flush before connecting. Drill pilot holes with a 3/32-inch bit at top, middle, and bottom positions. Use 2½-inch #8 screws to pull units tightly together.
We emphasize attaching through face frames only—never through side panels. These thinner areas cannot handle the structural stress of holding cabinets together long-term.
Check alignment with a level after each screw tightening. Make small adjustments with additional shims if needed. This attention to detail guarantees professional results that last.
Adjusting Doors and Drawers for a Perfect Fit
The final touches on your kitchen transformation involve precise door and drawer adjustments. This phase transforms functional storage into a seamless, professional-looking result.
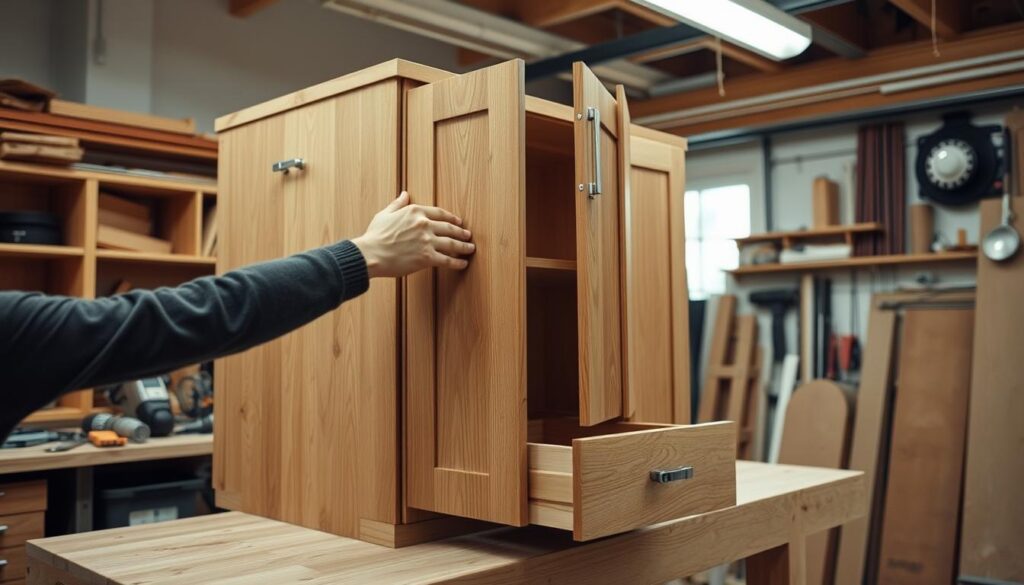
We guide you through these essential finishing steps. Proper alignment ensures everything operates smoothly and looks perfectly uniform.
Aligning for Smooth Operation
Modern hinges feature adjustment screws for fine-tuning. These allow you to move doors up, down, side to side, and in or out.
For overlay doors covering the frame, adjust hinges until doors hang straight. Make sure spacing between adjacent doors remains consistent.
Inset doors require different attention. Adjust hinges so each door sits flush with the face frame. Maintain an even 1/16 to 1/8-inch reveal around the perimeter.
| Adjustment Type | Tool Required | Key Measurement |
|---|---|---|
| Door Height | Phillips Screwdriver | Even top/bottom spacing |
| Side Alignment | Hex Key | Consistent gap between doors |
| Drawer Fronts | Drill with 1/8″ bit | Level line across all drawers |
Drawer adjustment follows similar principles. Loosen screws holding drawer glides to the frame. Move drawers vertically until fronts align in a straight, level line.
Always check alignment from multiple angles. Step back and view everything from the front. Minor misalignments become obvious when viewing the complete kitchen.
Once perfect, drill a 1/8-inch pilot hole below the drawer glide. Drive a 5/8-inch #8 screw to secure the drawer permanently. This prevents shifting during regular use.
Proper adjustment prevents binding and rubbing while creating the uniform appearance that defines quality workmanship.
Taking time for these final adjustments pays dividends. Your kitchen will function beautifully for years while maintaining its professional appearance.
Finishing Touches: Molding, Crown, and Scribe Fitting
The final details are what elevate your new kitchen from simply functional to truly stunning. We focus on the trim and molding that create seamless, custom-looking transitions.
Let’s start at the bottom of your base cabinets. Attach the toekick trim using 1-inch brads. Fit the longest pieces first, then cut shorter sections to fit.
If your floor is uneven, you have two great options. You can carefully scribe the trim to follow the floor’s contour. Alternatively, cover the gap with shoe molding brad-nailed to the floor.
| Gap Solution | Best For | Key Tool |
|---|---|---|
| Scribing Toekick | Permanent, seamless look | Scribe tool or compass |
| Shoe Molding | Quick, effective coverage | Brad nailer |
For the top of your upper cabinets, crown molding adds elegance. Mark a level line to ensure the molding’s bottom edge sits at a consistent height.
At corners, miter the joints on outside angles. For inside corners, use a coping saw for a tight, gap-free fit. This professional technique makes a huge difference.
Secure the molding with 1-2 inch finish nails into the cabinet frame. Space them every 12-16 inches. Use a nail set to recess the heads slightly below the wood surface.
Fill the small holes with wood putty or a color-matched wax stick. This creates a flawless finish that blends perfectly.
Finally, address any side gaps between your cabinets and uneven walls. Use a scribe tool to transfer the wall’s profile onto the cabinet’s edge. Trim carefully for an exact fit.
These finishing steps transform basic storage into a beautifully integrated kitchen feature.
Connect With Us: Visit Our Office and Contact Our Team
We’re excited to connect with you personally and discuss your kitchen transformation goals. Our Houston location makes it convenient to stop by and see what’s possible for your space.
Our Houston Address and Contact Information
Visit our showroom at 12502 Hempstead Rd., Houston, TX 77092. Here you can explore different styles and materials for your project. Our team will answer questions about your cabinet installation needs.
Call us at +1 (713) 357 63 73 for immediate assistance. We connect you directly with experts who understand local homes. Email info@rtgcabinets.com for detailed inquiries when you have more time to plan.
Working Hours and Best Times to Reach Us
We’re available Monday through Friday from 9:00 AM to 6:00 PM. Saturday hours are 10:00 AM to 2:00 PM for weekend consultations. We’re closed Sundays and holidays so our team can recharge.
Whether you’re planning new kitchen cabinets or need professional help with existing units, we welcome your visit. Our free consultations help you make informed decisions about your kitchen upgrade.
We showcase completed projects and provide transparent quotes. Seeing quality cabinet installation examples helps visualize your own space’s potential. Let’s create beautiful kitchen cabinets that fit your lifestyle perfectly.
Conclusion
Embarking on a cabinet installation project is a significant step toward creating your dream kitchen. We’ve detailed the entire process to show you what a quality result truly requires.
This type of project is advanced, even for skilled DIYers. Getting every measurement perfect takes considerable time and focus. Many homeowners choose our team to save time and avoid frustration.
We are here to make sure your new kitchen cabinets are installed flawlessly. Let our experienced craftsmen handle your project. Contact us today to bring your vision for a beautiful, functional kitchen to life.
FAQ
What are shims used for, and when do we need them?
Shims are thin, wedge-shaped pieces of wood or composite material. We use them to fill gaps between the cabinet and an uneven wall or floor, making sure everything is perfectly level and securely fastened to the wall studs.
Should we always drill pilot holes before driving screws?
Yes, we highly recommend it! Drilling a small pilot hole first prevents the wood from splitting, especially near the edges. This simple step makes the assembly process smoother and helps protect your investment.
How do we make sure the cabinets are securely attached to the wall?
The key is to always screw into the wall studs, the solid wooden frames behind your drywall. We use a stud finder to locate them and drive long screws directly into the studs for a strong, reliable hold that will last for years.
Can we install new kitchen cabinets over an existing floor?
A> Absolutely. You can install them over most existing floors like tile or hardwood. Just remember to account for the floor's thickness in your final height measurements, especially for appliances like your dishwasher.
What's the best way to ensure the doors and drawers operate smoothly after installation?
After everything is secured, we make fine adjustments to the hinges and drawer slides. Most modern hardware has small screws that allow for micro-adjustments, letting us tweak the alignment until the fit is perfect and the operation is seamless.


